
1. The Golden Hour
Now I’m sure you’ve heard of the ‘golden hour‘ ;the first and last hour of the day when photographers grab their cameras and tripods and set out to their favourite local place to snap that sublime sunset.
It’s called the ‘golden hour’ (or magic hour) because of those wonderfull warm hues of reds, yellows and purples. It happens when the sun is close to the horizon,it has to travel through more of the atmosphere reducing the intensity of the light so we get more Illumination from the sky. In other words; we get nice warm hues that are pleasing to the eye, perfect for capturing the moment.

This image was taken with a Canon EF-S 10-22mm wide angle lens. © Anthony Webber
2. Clouds
There’s an important factor when taking a picture of the sunset………clouds, yes clouds, Those white and grey fluffy things that would spoil an otherwise fine summer (or winter) day.I’ve found that most of my favourite sunset images have been taken when the sun has been obscured (or partly obscured) by some high cirrus or low cumulus clouds; you can get a really good image when the suns rays are shining through or behind the clouds.That’s not to say that an image of a sunset without clouds can’t look good, I’ve seen many that are, but clouds add more interest with their various colours and shapes.
Now, if you want to capture the sunset really ‘close in’ then you’ll need a telephoto lens to fill a good part of the frame; to use a 50mm or wider angle lens will just make the sun look tiny, but on the other hand, if there’s a big dramatic sky with amazing cloud patterns, you’ll need to reach for that wide-angle lens.

This awesome sunset was taken by Vitroid
3. Add Foreground Interest
If you are shooting the latter, try in and put some foreground interest as well, don’t make the mistake that I did; when, seeing this spectacular sunset I quickly drove to a local spot which I use for that very reason, I started snapping away, forgetting to put in some foreground interest. the result was some pics that looked pretty good but, didn’t show the sky in its true context.

A nice image, but would look a lot better with foreground interest! © Anthony Webber
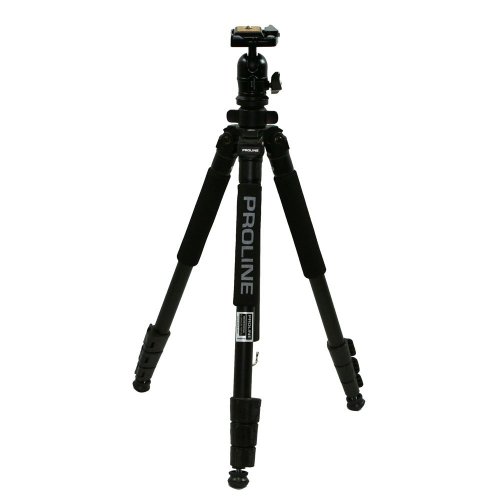
4. Don’t forget your Tripod
Now, when you take your picture, you will need a tripod or monopod (or at least a firm, flat surface) to avoid any camera shake, yes it’s more to lug around but it’s worth it when you see the results.When I first took an interest in photography I didn’t use a tripod; I thought my photos looked good enough without one; it wasn’t until I started using one, and then, comparing my hand held shots to the ones where a tripod was used, that I realized just how much sharper and clearer my photos were.

© Anthony Webber
5. Find the Best Vantage Point
Try and find the best vantage points to photograph a sunset; perhaps near to where you live, somewhere facing west where you have a clear view, so that the next time you look out of your window to see a sunset worth photographing, you ‘ll know just where to go; but then, you may be lucky enough to get a perfect veiw from your own back garden.

© A Webber

© A Webber

This lovely sunset was taken by J Rindrr

Another stunning shot taken by snowpeak

Amazing sky captured by Neils Photography

Another great sunset by nigelhowe

Image by Ahisgett

Image by rkramer62
……………………………………………………………………………………
…………………………………………………………………
…………………………………………..
………………………..
……..
..


The post 5 Handy Tips on How to Photograph Stunning Sunsets appeared first on Photographic Blog.
source http://photographicblog.com/sunsets/
| Price: | N/A | You Save: | N/A | Price: | N/A | You Save: | N/A | List Price: | $49.95 | Price: | $49.95 | You Save: | N/A | List Price: | $49.95 | Price: | $49.95 | You Save: | N/A |
No comments:
Post a Comment